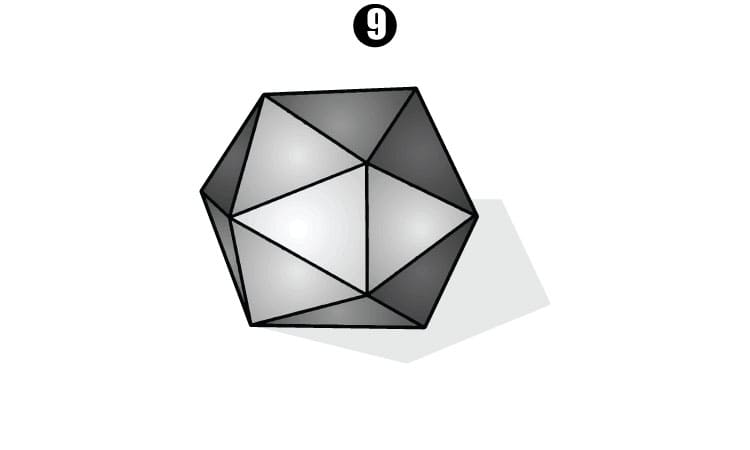
How to Draw a 3D Hexagon
Draw a 3D hexagon is an immortal work of art that permits people to communicate their innovativeness and creative mind. From straightforward shapes to complex plans, there are many subjects to investigate. In this exhaustive aide, we’ll dive into the captivating universe of three-layered (3D) attracting and figure out how to make a shocking 3D hexagon without any preparation.
Grasping the Idea of 3D Drawing
Before we plunge into the points of interest of drawing a 3D hexagon, we should pause for a minute to figure out the idea of three-layered drawing. Dissimilar to customary two-layered (2D) drawing, which includes addressing objects on a level surface, 3D attracting means to make the deception of profundity and volume. This is accomplished by consolidating viewpoint, concealing, and different strategies to cause objects to seem three-layered.
Materials Required
Before we start our drawing process, assembling the important materials is fundamental. Here is a rundown of things you’ll require:
- Drawing Paper: Pick an excellent drawing paper that can endure different drawing methods.
- Pencils: Have a scope of pencils, including H, HB, and B, for drawing and concealing.
- Eraser: Utilize a delicate eraser to address botches and ease up lines depending on the situation.
- Ruler: A straight ruler will assist you with making exact lines and points.
- Compass (Discretionary): In the event that you like, utilize a compass to draw ideal circles for your 3D hexagon.
- Fine-tip Pen or Marker: Utilize a fine-tip pen or marker to frame and finish your drawing.
Step by Step Manual for Drawing a 3D Hexagon
Since we have our materials prepared, we should set out on the excursion of drawing a shocking 3D hexagon. Adhere to these bit by bit directions to make your work of art:
Step 1: Outlining the Base Hexagon
Start by outlining an ordinary hexagon as the base state of your 3D hexagon. Utilize a ruler to guarantee that every one of the six sides are of equivalent length and that the points are indistinguishable. This will act as the establishment whereupon we’ll construct the three-layered structure.
Step 2: Adding Profundity and Point of view
Then, now is the right time to add profundity and viewpoint to our hexagon drawing. To accomplish this, envision a disappearing point somewhere far off and define slanting boundaries from each side of the hexagon combining towards this point. These lines will address the sides of the hexagon subsiding into the distance, making the deception of three-dimensionality.
Step 3: Expelling the Sides
Presently, expand the sides of the base hexagon along the viewpoint lines to make the profundity of the 3D hexagon. Each side of the hexagon ought to be expanded outward from the base, heeding the viewpoint lines. This will give the hexagon volume and cause it to seem three-layered.
Step 4: Associating the Lines
Whenever you’ve broadened every one of the six sides of the hexagon, interface the comparing guides on each side toward structure the back essences of the 3D hexagon. This step finishes the essential construction of our three-layered shape, preparing it for additional refinement and specifying.
Step 5: Illustrating and Settling
With the essential design set up, now is the ideal time to frame and conclude our 3D hexagon drawing. Utilize a fine-tip pen or marker to follow over the last blueprint of the hexagon, guaranteeing perfect and fresh lines. Focus on detail and refine any harsh edges to accomplish a cleaned finish.
Step 6: Adding Concealing and Subtleties
To upgrade the authenticity of our 3D hexagon drawing, we’ll add concealing and subtleties to make profundity and aspect. Decide the course of the light source and shade the sides of the hexagon confronting away from the light to make shadows. Leave the sides confronting the light source lighter to address features and reflections, adding surface and aspect to the drawing.
Step 7: Final Touches
Before we close our drawing, pause for a minute to survey and make any last contacts or improvements. Eradicate any wanderer pencil stamps , and add any extra subtleties or embellishments to hoist your drawing further. Sign and date your fine art to stamp its fruition and add an individual touch.
Step 8: Showing Your Artwork
When your 3D hexagon drawing is finished, it’s chance to exhibit your magnum opus. Think about outlining it and draping it on the wall, adding it to a craftsmanship portfolio, or imparting it to loved ones to motivate others and get input on your innovative excursion.
Conclusion
Drawing a 3D hexagon is a difficult yet compensating imaginative undertaking that permits you to investigate the standards of viewpoint, calculation, and concealing. By following the bit by bit guide framed above and trying different things with various procedures, you can make a shocking and sensible portrayal of a three-layered hexagon. Make sure to partake all the while and let your inventiveness radiate through. Cheerful drawing!
You May Also Like: